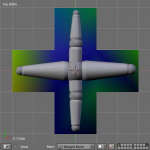
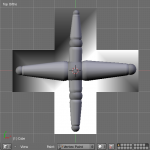
Maybe is true, as I wrote in the README file, that I coded this demo because I felt like the only one who hasn’t yet implemented a toon shader. 🙂
Actually this is not the only reason, I came with the inspiration when I was presenting the first part of my updated Modern GPUs slides at the university, this time the event was organized by some students and advertised with leaflets. 😉
So, for the second part that will be held next Wednesday, I’m planning to integrate the explanations about the internals of this demo.

From untextured to textured with outlines
It was easy and fast to have a basic toon shader working, thanks to the Lighthouse 3D tutorial.
This version uses a cascade of if-then-else instead of a more usual 1D texture lookup but, judging from the tests I have run, it’s not a performance issue, at least on GeForce 8 and newer cards.
For the edge detecting I wanted to exploit the fragment shader capabilities, working in screen space with the sobel operator and thus being independent from geometric complexity.
The only problem was about *what* to filter.
- The first test was straight, I filtered the rendered image, a grey version of the textured and lit MrFixit head, but the results were poor: edge detecting outlined toon lighting shades too.
- In the second one I decided to filter the depth buffer, I could get rid of colour to grey conversion but, again, the results were not satisfactory: there were no outlines in the model, just a contour all around.
Maybe it could have been corrected with a per-model clip planes tuning, but I gave up. - With the third test I filtered out the unilluminated color texture and the results were better. Unfortunately it relied on the presence of a texture and outlined too much details.
- I think the fourth approach, as seen in this demo, is the best one.
I used MRTs to save the eye-space normal buffer during the toon shader pass, then I filtered a grey version of it, outlining the contour plus some other geometric details.
A small note: saving an already grey converted buffer in the toon shader pass speeds up the demo a bit, but storing the normal in a single 8 bits component of the texture causes a loss of precision that leads to some visible artefacts.
Using a floating point texture helps with the precision issue but makes the demo too slow.
Maybe I should try using a single component texture or some kind of RGBA packing algorithm…
As usual you can have a look at YouTube or Vimeo videos and download the sources.


