Category Archives: Programming

Automatic parallax map generation with Blender

It has been a long time since I last wrote something here, during these months two new things happened that are worth to be mentioned: first of all I’m really close to graduation!
Well, actually I need to pass the last exam and spend a period of at least four months of internship, nothing is sure now but I’m in close contact with a game developing company… πŸ˜‰

The second thing is closely related to this post instead, a couple of months ago I began to convert, following M3xican’s advice, my OpenGL demos to object oriented C++.
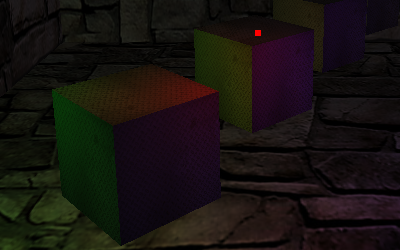
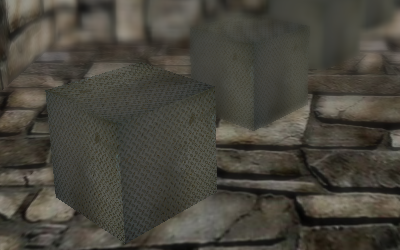
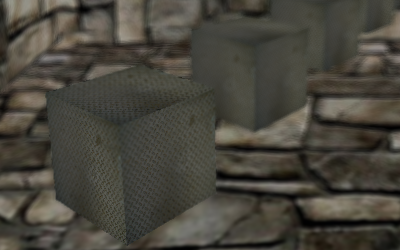
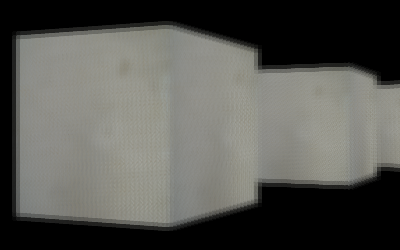
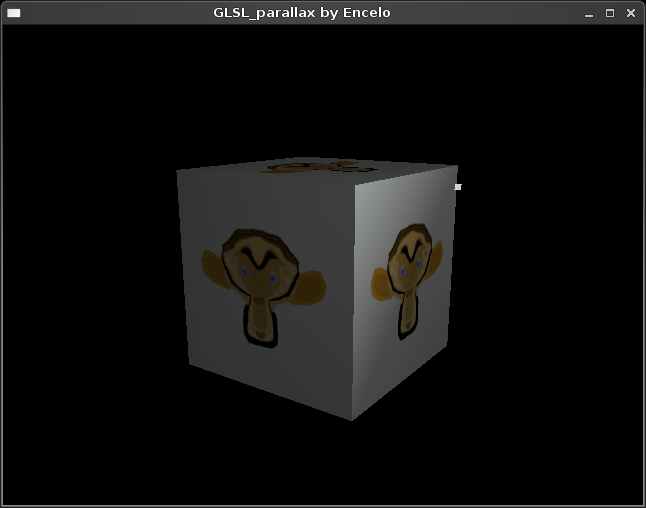
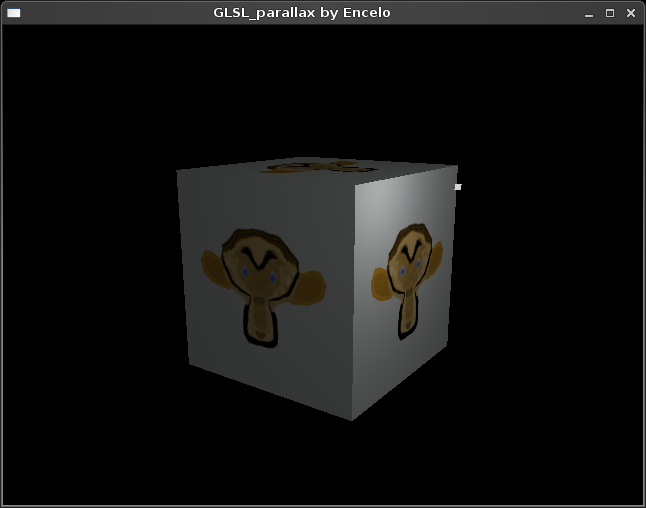
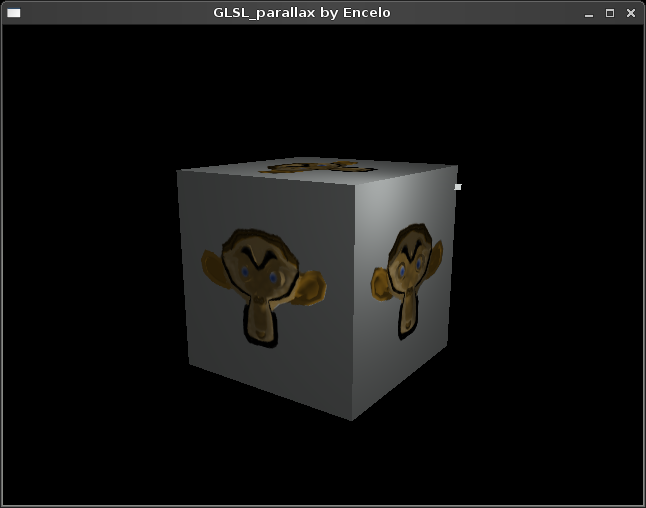
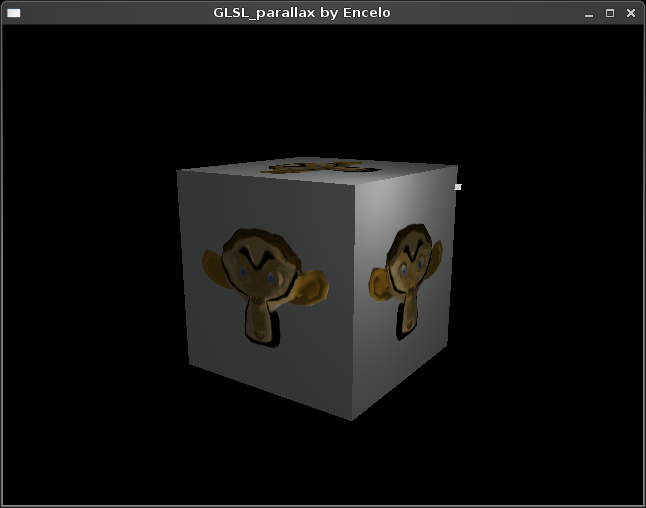
What I have now is really not much, nevertheless my class library can load a Stanford PLY model, it is ES 2.0 compliant (this means it will be easily converted to “Pure” OpenGL 3.x), and it can already display both parallax mapping and depth of field!

I’m not going to publish any screenshot by now because I think it’s not the time yet, what I’m showing you is a easy script, my first one, which I wrote yesterday night using the Blender Python API.
What it does is really simple yet time-saving, you select a high-poly and a low-poly model, run the script from the Object->Scripts menu and watch Blender baking your normal and height map and then saving them.

Blender parallax maps

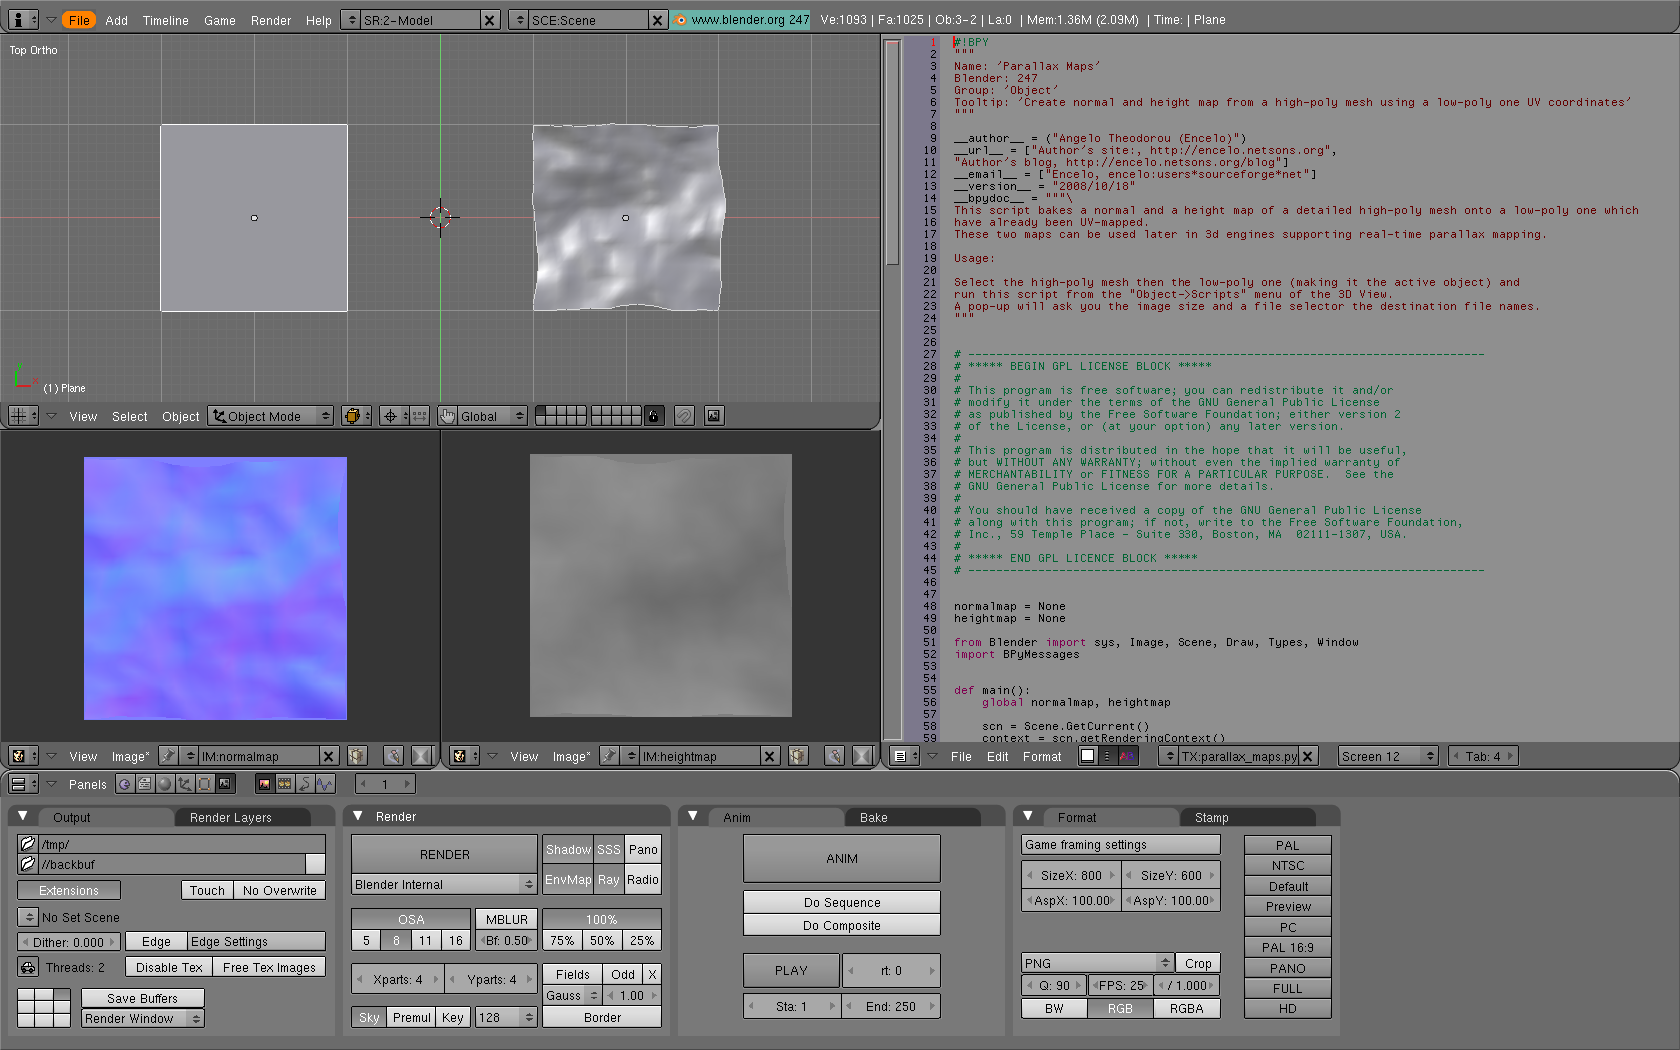
I have also set up an easy compositing nodes configuration to mix the two images in a single parallax map with height data encoded in the alpha channel.

Blender parallax maps nodes

You can download the script from here.
Everything is very simple (and funny!) with the astonishing power of Blender! πŸ™‚

Let there be light!

I started exploring deferred shading rendering to display multiple light sources and ended writing a demo featuring eight different lighting techniques and a PyOpenGL class library. πŸ™‚

glsl_multilight

The whole story is more than a month old, just after releasing the first depth of field demo I began studying deferred shading, but I extended my purpose to include other lighting methods, like single and multi-pass fixed-pipeline lighting, per-vertex and per-pixel single and multi-pass shader lighting and, of course, deferred one.

While writing the C code, I thought it was going to be fun to also port it to Python, this way I could have also have a look to the “new” (ArchLinux adopted it quite late πŸ™‚ ) ctypes PyOpenGL, aka PyOpenGL 3.

Unfortunately, many little but annoying issues delayed me until today:

  • not setting explicitely glDepthFunc(GL_LEQUAL) (or, alternatively, not clearing the depth buffer at each pass) for multi-pass scene rendering made every pass to be discarded excepting the first one.
  • trying to make a buggy Python glDrawBuffers() wrapper work.
    Actually I had no luck with this and give up on MRTs support in PyOpenGL.
  • trying to figure out why VBOs didn’t work on PyOpenGL, I give up on this too. πŸ™‚
  • using a uniform variable to index the gl_LightSource structure array, which prevented the shader from running on Shader Model 3.0 cards
  • exploring all the possibilities that could ever lead to “the brick room is very dark in fixed-pipeline mode” issue, only to discover today that this was a mere scaled normals problem.
    It was easily solved enabling GL_RESCALE_NORMAL

At last I made it, I have made a multi light demo that includes deferred lighting (although very rough and not optimized at all) and shows coherent lighting in all rendering modes.
The PyOpenGL class library almost works, no MRTs and VBOs, but it is functional enough to sport a complete DoF2 and multilight (without deferred mode, which relies on MRTs, of course) demo conversions.

It’s not a news anymore that you can view it in action on my YouTube Channel, or in a high definition 720p version hosted on my Vimeo page.

All’s well that ends well. πŸ™‚

Depth of field reloaded

Lately I’ve been really disappointed by the poor performances of my first depth of field implementation, thus I decided to do something about it…

glsl_dof2

The most natural step to do was to give a look to the second Direct3D example from the same paper I used for the first one, as I was sure it would have led to more satisfactory results.
I spent the two last nights converting, correcting and fine tuning it, but I was rewarded by the fact that I was right: even if it is a five passes algorithm which is using four different Frame Buffer Objects, it is about 2.5 times faster than my previous implementation!

I think the speed boost depends on the two following:

  1. image blurring is achieved by a gaussian filter which is calculated separating the X from the Y axis, it is an approximation of a standard 2D kernel but it also means that the convolution matrix calculation complexity decreases from a quadratic to a linear factor.
  2. this filter operates only on a downsampled (1/4th of the screen resolution actually) FBO

Another nice note about this new implementation is that there are only two focal parameters, focus depth and focus range, which really help to setup a correct scene.

Now let’s review the five passes in detail:

  1. Render the scene normally while calculating a blur amount per-vertex, then store the interpolated value per-pixel inside the alpha component of the fragment.
    The calculation at the vertex shader is just:

    Blur = clamp(abs(-PosWV.z - focalDistance) / focalRange, 0.0, 1.0);
    
  2. Downsample the scene rendered at the previous pass storing it in a smaller FBO
  3. Apply the gaussian filter along the X axis on the downsampled scene and store it in a new FBO
  4. Apply the gaussian filter along the Y axis on the already X blurred scene and store it in a new FBO
  5. Calculate a linear interpolation between the first full resolution FBO and the XY downsampled blurred one
    This is performed in the fragment shader as:

    gl_FragColor = Fullres + Fullres.a * (Blurred - Fullres);
    

Again, you can view it in action on my YouTube Channel, or in a high definition 720p version hosted on my Vimeo page. πŸ˜‰

I love depth of field

I consider depth of field as one of the most beautiful post-processing effects of the “next-gen” games.
It was natural for me to choose it as the first shader demo to implement after months of inactivity, as a matter of fact GLSL_impgro was really just a testbed for post-processing basic techniques, like Frame Buffer Objects.

GLSL_DoF

I have studied the theory from an ATI paper included in the ShaderX2 book, titled Real-Time Depth of Field Simulation, I have choosen the first of the two different implementation and converted it from Direct3D and HLSL to OpenGL and GLSL.

Of course, being a post-processing effect, the rendering is actually divided in two pass:

  1. Rendering the scene storing the depth of every vertex and calculating the amount of blur per fragment
  2. Applying the blur per fragment based on the value from the previous step

The second pass fragment shader, the one which is really applying the blur effect, is slow even on my 8600GT, because it performs several calculations for every one of the twelve fragments that are contributing to the blur of the center one.

Another interesting aspect is that, in order to calculate a correct approximation of the circular blur needed for circles of confusion simulation, these twelve pixel are sampled around the center based on a poissonian disc distribution, thus creating much less artifacts than a small convolution matrix scaled too much in order to sample from far away the center.

Just like the previous demo you can view it in action on my YouTube Channel, but I really suggest you to give a look to the high definition 720p version instead, hosted together with the other ones on my Vimeo page. πŸ˜‰

Image post-processing with shaders

I’m back to work after many months, university exams take really a lot of time…
For I am a bit rusty on GLSL programming, but willing to learn new things anyway, I have decided to begin with a simple yet interesting topic, image processing.

GLSL_imgpro

The whole thing, actually, needs two rendering passes and relies heavily on Frame Buffer Objects because:

  1. You render the scene to an off-screen texture.
  2. You render a quad covering the entire screen and binded to the previously written texture.
  3. You make a shader process the fragments resulted from rendering this textured quad, i.e. post-processing the original scene.

In this program post-processing is demanded to convolution matrices calculated with these kernels:

GLfloat kernels[7][9] = {
    { 0.0f, 0.0f, 0.0f, 0.0f, 1.0f, 0.0f, 0.0f, 0.0f, 0.0f}, /* Identity */
    { 0.0f,-1.0f, 0.0f,-1.0f, 5.0f,-1.0f, 0.0f,-1.0f, 0.0f}, /* Sharpen */
    { 1.0f, 1.0f, 1.0f, 1.0f, 1.0f, 1.0f, 1.0f, 1.0f, 1.0f}, /* Blur */
    { 1.0f, 2.0f, 1.0f, 2.0f, 4.0f, 2.0f, 1.0f, 2.0f, 1.0f}, /* Gaussian blur */
    { 0.0f, 0.0f, 0.0f,-1.0f, 1.0f, 0.0f, 0.0f, 0.0f, 0.0f}, /* Edge enhance */
    { 1.0f, 1.0f, 1.0f, 1.0f, 8.0f, 1.0f, 1.0f, 1.0f, 1.0f}, /* Edge detect */
    { 0.0f, 0.0f, 0.0f, 0.0f, 1.0f, 0.0f, 0.0f, 0.0f,-1.0f}  /* Emboss */
};

The final fragment color is calculated by a simple shader which, at the core, just performs the following:

for(i = -1; i <= 1; i++) for(j = -1; j <= 1; j++) { coord = gl_TexCoord[0].st + vec2(float(i) * (1.0/float(Width)) * float(Dist), float(j) * (1.0/float(Height)) * float(Dist)); sum += Kernel[i+1][j+1] * texture2D(Tex0, coord.xy); contrib += Kernel[i+1][j+1]; } gl_FragColor = sum/contrib; [/sourcecode] When the user chooses a filter, the application updates the kernel currently in use with a call to: [sourcecode language='cpp'] loc = glGetUniformLocation(sh.p2, "Dist"); glUniform1i(loc, dist); loc = glGetUniformLocation(sh.p2, "Kernel"); glUniformMatrix3fv(loc, 1, GL_FALSE, &kernels[curker]); [/sourcecode] Dist is a user defined parameter (you can change it using arrows) that defines the distance in pixels from the center to the contributing sample. Since a month I have created a YouTube Channel, now you can have an idea of how this demo works without downloading and compiling the source code: have a look at this link! πŸ˜‰

Python 2.5 support in globs r46

Yes, I should have written about it when I actually committed the revision, but I forgot completely. πŸ˜€
About two months after Python 2.5 has been moved to the current repository of Arch I begun to think that maybe it was time to support the new release of our beloved language/interpreter.

Python transparent logo

I don’t know if it can be called “support”, but at least GL O.B.S. is now aware of it. πŸ™‚
The changes are very simple yet of some importance.
First of all, pysqlite is not needed anymore if you have the integrated sqlite3 module:

if sys.version_info[:2] >= (2, 5):
  from sqlite3 import dbapi2 as sqlite
else:
  from pysqlite2 import dbapi2 as sqlite

Moreover I make use of the updated API of the webbrowser module:

if sys.version_info[:2] >= (2, 5):
  webbrowser.open_new_tab(Globs.BROWSE_URL)
else:
  webbrowser.Netscape('firefox').open(Globs.BROWSE_URL)

Another addition, not related with the support of Python 2.5, is the check_ver function, which checks if a particular version of OpenGL is available on the machine running GL O.B.S., this have opened the possibility to add an OpenGL 2 only test like GLSL_Parallax into benchmarks r47.

Python and GL O.B.S. are getting better and better. πŸ˜‰

Parallax mapping for the masses

I have spent the last ten days studying hard, reading the first half of the Orange Book (it’s the last book in the list, of course πŸ˜€ ), a plethora of papers, many demos code, tons of tutorials and guides, but at last I achieved what I would have never imagined just two weeks ago. πŸ˜‰

Fixed Pipeline

Per-pixel Lighting

Normal Mapping Parallax Mapping

The GLSL_parallax demo shows per pixel Blinn-Phong shading, specular mapping and tangent space parallax mapping with offset limiting! πŸ˜€

Actually I’m not really sure about the correctness of my implementation (especially regarding tangent space lighting) but screenshots demonstrate that I’m close to it.
In the first one the usual and boring OpenGL fixed functionality per-vertex lighting (ambient, diffuse and specular components of a point light with attenuation), in the second one shaders are enabled, but only to calculate lighting on a per-pixel basis. At last, the third and the fourth image show normal and parallax mapping.

Talking in more detail, the code is written for OpenGL 2 only, it makes use of Vertex Buffer Objects and GLSL shaders using core functions.

Here is the magic:

[...]
if (withParallax == true) { // alpha channel encodes the height map
  height = scale * texture2D(Tex1, gl_TexCoord[1].st).a - bias;
  TexCoord = gl_TexCoord[0].st + height * ecPos.xy;
}
[...]
if (withNormal == true)
  nor = 2.0 * normalMap.rgb - 1.0; // decoding normal map
[...]

Some statistics:

  • 6 varying variables
  • 7 uniform variables (texture samples and enable/disable booleans)
  • 3 texture fetches every fragment processed
  • (24×3)x3 + 24×2 = 432 floats (1728 bytes) stored in VBOs

Enjoy the shaders! πŸ™‚

Back to globs too, committed r45

Three months and three weeks after rev. 43 (ignoring rev. 44 which was related to the site only) I committed a new revision of globs.
I would like to show some of the tiny refinements cited in the ChangeLog which I made to the interface.

In the new Information tab all the info are displayed inside a single TextView widget with gtk.WRAP_WORD which makes use of a bold TextTag to highlight the relevant text.
The policy of the surrounding ScrolledWindow widget is set to gtk.POLICY_AUTOMATIC for both scrollbars, which really makes it less cluttered.

Inside the updated Options tab you can see a new resolution ComboBox and a Frame surrounding benchmark options, this permits to perform a simpler and cleaner self.options_frame.set_sensitive(False) to gray out everything in case the “Lock current” ToggleButton is checked.

This is all very cute but the hard work, the adaptation of the submit code to the new database, is still postponed… πŸ™‚