In January, during my internship activity, I was researching in the field of HDR imaging, today I had the time, at last, to polish a bit and release the two demos I made at the time.
They both load an RGBE image (the two you see here are courtesy of the Paul Devebec’s Light Probe Image Gallery) through the library of Bruce Walter.

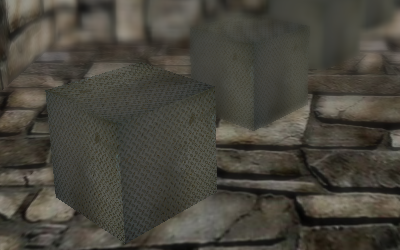
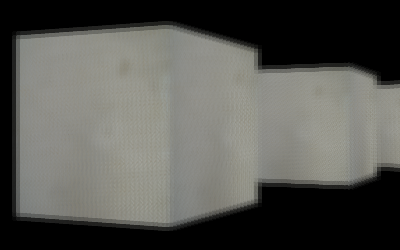
Light probe at different exposure levels (hdr_load1)
The first demo implements the technique described in the article High Dynamic Range Rendering published on GameDev.net and is based on five passes and four FBOs:
- Rendering of the floating-point texture in an FBO
- Down-sampling in a 1/4 FBO and high-pass filter
- Gaussian filter along the X axis
- Gaussian filter along the Y axis
- Tone-mapping and composition
The algorithm is very simple, it first renders the original scene then it extracts bright parts at the second pass, which merely discards fragments which are below a specified threshold:
// excrpt from hipass.frag
if (colorMap.r > 1.0 || colorMap.g > 1.0 || colorMap.b > 1.0)
	gl_FragColor = colorMap;
else
	gl_FragColor = vec4(0.0);
While the third and fourth passes blurs the bright mask, the last one mixes it with the first FBO and sets exposure and gamma to achieve a bloom effect.
// excerpt from tonemap.frag
gl_FragColor = colorMap + Factor * (bloomMap - colorMap);
gl_FragColor *= Exposure;
gl_FragColor = pow(gl_FragColor, vec4(Gamma));

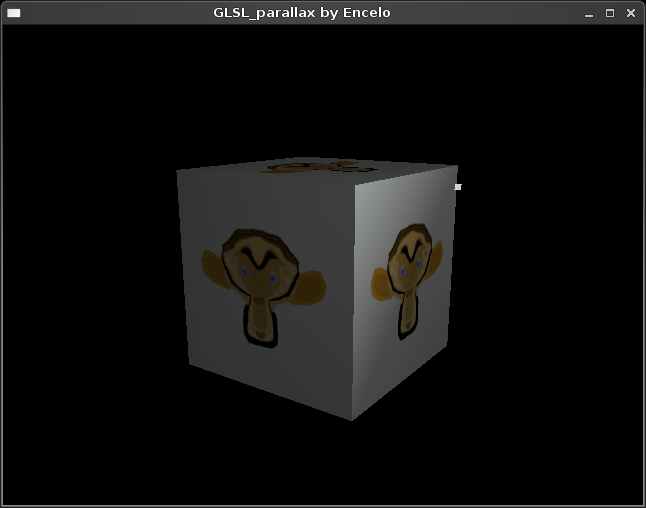
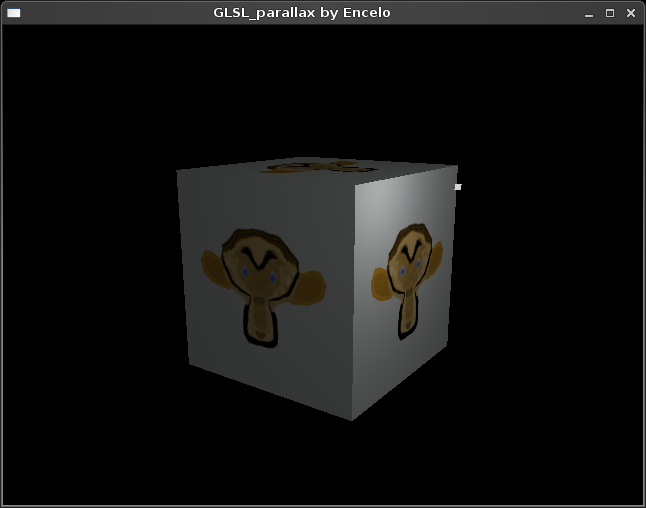
Light probe at different exposure levels (hdr_load2)
The second demo implements the technique described in the article High Dynamic Range Rendering in XNA published on Ziggyware and is based on seven passed and more than five FBOs:
- Rendering of the floating-point texture in an FBO
- Calculating maximum and mean luminance for the entire scene
- Bright-pass filter
- Gaussian filter along the X axis
- Gaussian filter along the Y axis
- Tone-mapping
- Bloom layer addition
This approach is far more complex than the previous one and is based on converting the scene to its luminance (defined as Y = 0.299*R + 0.587*G + 0.114*B) version, the mean and maximum value can be calculated using a particular downsampling shader and working in more passes, at each one rendering on an FBO with a smaller resolution than the previous until the last pass, when you render the luminance of the entire scene on a 1×1 FBO.
As usual you can have a look at YouTube (GLSL_hdrload1, GLSL_hdrload2) or Vimeo (GLSL_hdrload1, GLSL_hdrload2) videos and download the sources.